Diamond Shine Blogs
How to Get Road Salt Stains Off Boots and Sneakers

The first slushy walk of the season leaves a mark. You get home, kick off your boots, and a day later there are chalky white tidemarks crusted across the toe and up the sides. Scrub them dry and they smear. Leave them and they come back. By February the leather has gone stiff and pale, and the canvas sneakers you wore once in the snow have a permanent white ring around the welt.
That white residue is not dirt, which is exactly why normal cleaning does not shift it.
What road salt is really doing to your shoes
Municipal de-icers are mostly sodium chloride, often blended with calcium chloride or magnesium chloride for colder days. When you walk through treated slush, that brine soaks into the upper. The water evaporates and leaves the salt behind as crystals, sitting in and on the material.
Two things follow. Salt crystals are hygroscopic: they pull moisture out of the material they sit in, and on leather that loss is what leaves the surface stiff, dull and prone to cracking at the flex points. They are also hard and angular, so rubbing a dry salt stain grinds them through the fibers — which is how a cosmetic stain becomes a scuffed patch you cannot undo.
So the goal is to dissolve the salt and lift it away, not to scrub it off.
Deal with it wet, not dry
The best time to treat a salt stain is before it dries. Catch it at the door and blot the affected area with a damp cloth, working from the outer edge inward so you are not pushing brine into clean material. Blot, do not rub.
If the stain has already dried to a crust, re-wet it. Dampen a cloth with cool water, press it against the stain and hold it for twenty or thirty seconds to let the water get into the salt before you move anything. Then blot again. A lint-free towel matters here, because a shedding rag leaves fibers stuck in a damp nap — a tear-away microfiber towel lets you pull a fresh one for every pass and throw the salty ones straight in the wash.
Use cool water, not hot. Heat sets stains in leather and can shrink it.
For tidemarks that will not lift
Plain water handles most fresh salt. For an older, set-in tidemark, mix equal parts cool water and white vinegar from your kitchen. The mild acidity helps break the deposit down, the same reason acidic cleaners work on hard water scale in your bathroom. Dampen a cloth with it, hold it on the stain, then blot with a second cloth dampened with plain water to rinse.
Test it on an inconspicuous spot first, like the inside heel, and do not soak the shoe through.
Suede and nubuck need a lighter hand
Suede is the material most people ruin trying to save. It is napped leather, so the issue is not only the salt but the matted, flattened fibers it leaves behind.
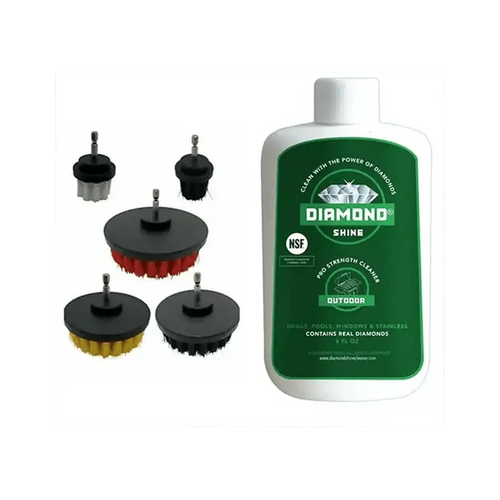
Keep the moisture minimal. Use a barely damp cloth rather than a wet one, blot the stain, then let the shoe dry completely before you touch the texture. Once dry, brush the nap in one consistent direction to stand the fibers back up. A soft brush is the only thing that belongs here — the flat and detail brushes in a soft bristle set work well by hand, and if you put one on a drill, use the lowest speed you have, keep it moving, and test on a hidden area first.
The part everyone skips: the outsole
Salt packs into the tread grooves, the sidewall stitching and the seam where the upper meets the sole, where it dissolves and recrystallizes every time the shoe gets damp. That seam is where stitching rots and glue lets go.
Rinse the sole under cool running water, then work the grooves with a stiff, narrow brush. A crevice brush is built for this — the slim angled head gets into tread channels and along the welt, which a sponge cannot reach.
Dry them properly or you undo the work
Never dry wet shoes on a radiator, next to a space heater or with a hair dryer. Direct heat pulls the remaining moisture out of leather far too fast, and that is what causes the hard, cracked finish people blame on the salt itself.
Stuff the shoes loosely with paper or a dry cloth to hold their shape and draw moisture from the inside, then leave them at room temperature for a full day, swapping the stuffing once if they were soaked. If a faint white bloom appears as they dry, that is residual salt surfacing, and one more damp blot will take it.
Then stop it happening again
Removal is the fix. Prevention is the actual answer, because every round of soaking, blotting and drying takes something out of the material.
Treating your shoes with a water and stain repellent before the weather turns means brine beads up on the surface instead of wicking into the fibers, so the salt never gets a chance to crystallize inside the material. Diamond Shine Shoe Water & Stain Protection is made for exactly this: it protects suede along with other footwear materials, repels water, dirt and stains, helps maintain color, and contains no bleaching agents.
Apply it to clean, completely dry shoes. Treat a pair that still has salt in it and you seal the salt in. So clean first, dry for a full day, then protect — and reapply through the winter, and after any soaking.
The short version
Dissolve, do not scrub. Cool water, not hot, blotted from the outside in with a lint-free towel. Half-and-half vinegar and water for set-in tidemarks. A light hand on suede, a stiff narrow brush on the outsole grooves. Dry at room temperature for a day, nowhere near heat. Then seal them so you are not doing it again next week.