Diamond Shine Blogs
How to Clean Your Grill for Winter Storage (and Why Spring Is Too Late)
You scrape the grates one last time in October, drop the cover over the whole thing, and forget about it. Then you lift the lid in April and it is somehow worse than you left it — orange bloom across the grates, a grease tray gone dark and sticky, a firebox that smells like a garage floor. Nothing touched it all winter, and it still fell apart.
That is not bad luck. A grill stored dirty spends the whole off-season corroding, and the residue you left behind is what drives it.
Grease holds moisture against bare metal
Cooked-on fat is not inert. It is porous, and it wicks. Through a winter of condensation and thaws it pulls in moisture and holds it against the grates, the burner tubes and the floor of the firebox for months. Bare metal plus trapped moisture plus time is the whole recipe for rust.
It also gets harder to remove the longer it sits. Fresh grease comes off with heat and agitation. Grease that has been through a season of freezing and thawing has hardened into a lacquer-like film that responds to neither, and the metal underneath it has usually started to pit.
Twenty minutes now is the difference between opening a grill in spring and opening a restoration project.
Burn it off, then let it go completely cold
Run the grill on high with the lid closed for ten to fifteen minutes before you clean anything. That turns the soft residue on the grates into ash you can knock loose, so you are not scrubbing through grease and char at once.
Then shut off the gas and walk away until every part is cold to the touch. This step gets skipped constantly and it matters: anything applied to hot metal flashes off before it can work, and can dry onto the surface and leave marks you will have to polish out.
Let the grate material decide your brush
Grates are where people cause damage, because each material wants different handling.
Porcelain-coated grates are steel or iron under a layer of glass. Once that coating chips, the metal beneath starts rusting and the chip spreads — so stay gentle and keep anything metallic away from them.
Cast iron is tough but bare, and rusts within hours of getting wet. Clean it, dry it immediately, and wipe a thin film of cooking oil over it before storage.
Stainless is the most forgiving and takes a firm nylon brush without complaint.
Whatever the material, test your brush somewhere out of sight first.
Use a drill, and follow the label
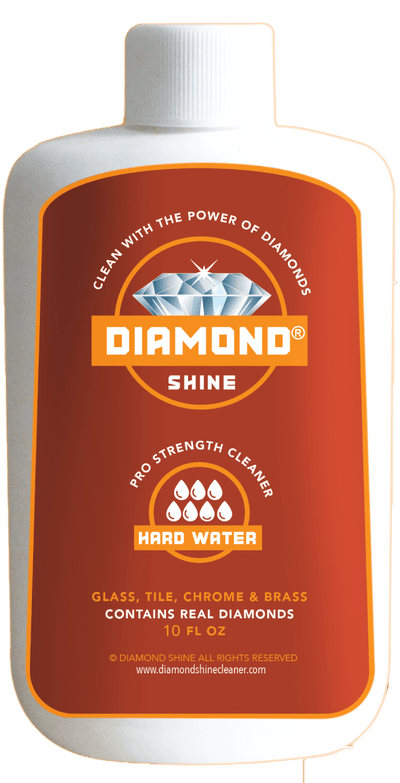
Diamond Shine BBQ Grill & Outdoor Cleaner is built for this job. It removes rust and hard water stains from porcelain, stainless steel, chrome, brass, aluminum and copper, it prevents corrosion, and it is safe on food-prep surfaces on grills — the one place that last point really matters.
The application is specific. Shake well. Apply to a surface you have already washed and dried, not to caked-on grease. Work it in with light pressure, about two to four pounds; heavier pressure can scratch. Do not let the product dry on the surface. Rinse with clean water, wipe the residue off with a dry soft cloth, and repeat on anything stubborn rather than leaning harder.
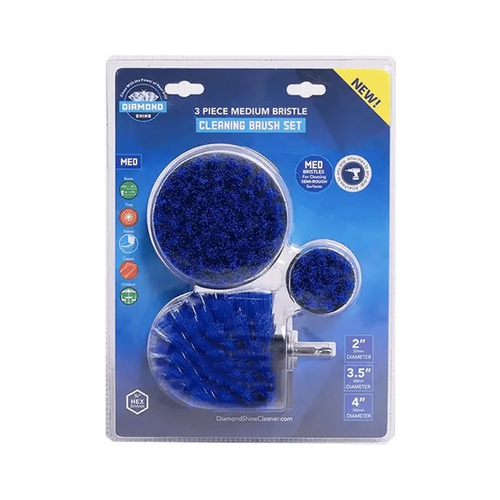
You can apply it by hand, but a drill agitates better than your arm will. The 3-pack hard bristle drill brush set fits any drill with a standard 1/4" quick-change shaft and lists BBQ grills and ovens among its intended jobs: the 4" flat brush covers the open face of a grate, the 3.5" rounded brush follows the curve of the firebox, and the 2" cone gets into edges and seams. Run it at low to medium speed and let the rotation do the work.
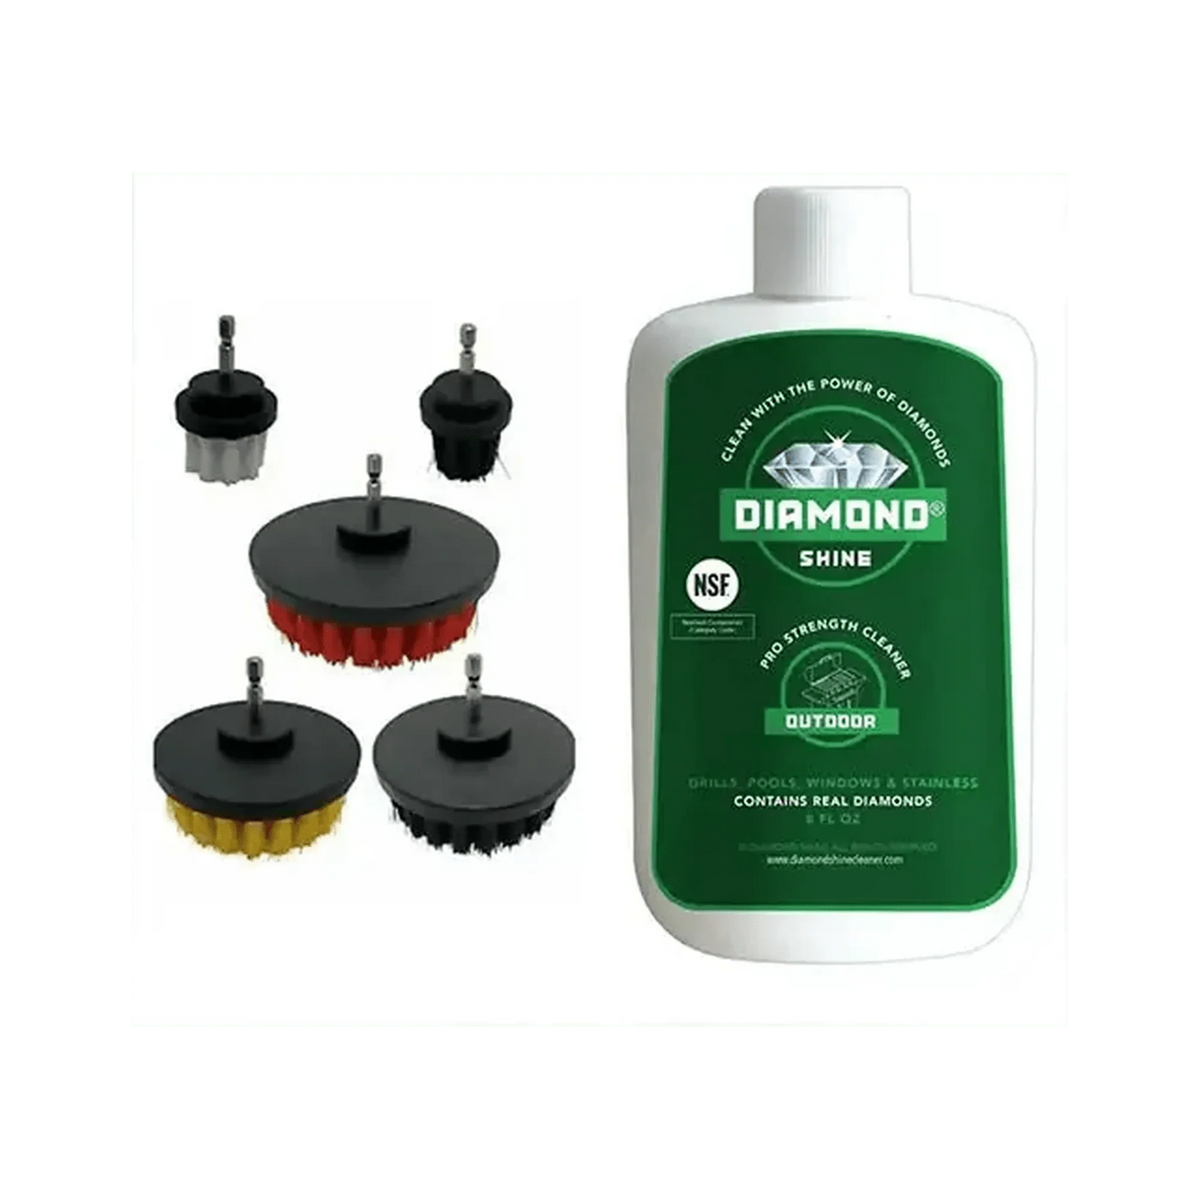
Buying for this from scratch, the 5-piece drill brush grill cleaning set pairs a 10 oz bottle of the outdoor cleaner with a five-piece attachment set, sized for grates, racks, drip pans and stainless grill interiors and exteriors. The drill is not included.
The parts that cause spring failures
Grates get all the attention, and are rarely what strands you in May. Two other things are.
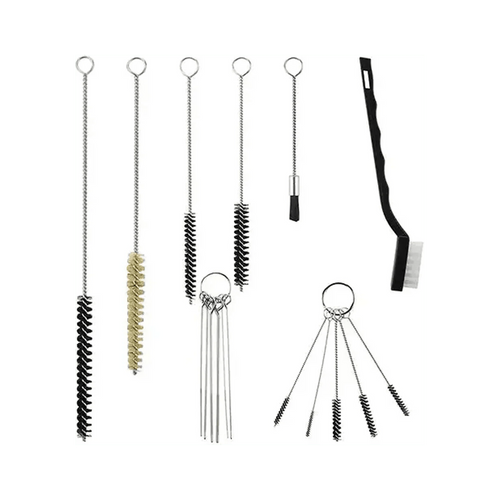
The first is the burner tubes. The gas ports along them block with a single season's drippings and spider webs, and a partly blocked burner lights unevenly, burns yellow, or does not light at all. A set of nylon mini brushes handles this — made for nozzles, thin tubing and pipes, in a range of diameters, with nozzle cleaning needles for the ports themselves. Brush along the tube, and never hard enough across a port to deform it.
The second is the grease tray. Empty it, scrape it, clean it and put it back dry. A full tray is both a rust source and the reason the first cookout of the season turns into a flare-up.
Store it dry, not just covered
Drying decides whether any of this held. Hand-dry every piece instead of letting it air dry — evaporating water leaves its mineral content behind as spotting, and leaves bare iron wet for hours. A roll of tear-away microfiber towels is useful here: lint-free, non-abrasive and washable, so you can use one per component without thinking about it.
Oil the cast iron, then leave the cover off until the grill is bone dry all the way through. A cover thrown over damp metal is a terrarium, and does more damage across five months than no cover at all. If you can store the grates indoors, do.
Twenty minutes now, or an afternoon in April
Burn off the grates, let everything cool, and match the brush to the grate material. Wash and dry first, then work the cleaner in with light pressure and rinse before it dries. Clear the burner ports, empty the grease tray, hand-dry every piece, oil the cast iron, and cover it only once it is fully dry. Done in that order, the grill you uncover in spring is the one you put away.